Gray Fox costume build log
Originally published on The RPF on July 18 2012
Character reference:
I started with a mugshot with a ruler to get the scale right:
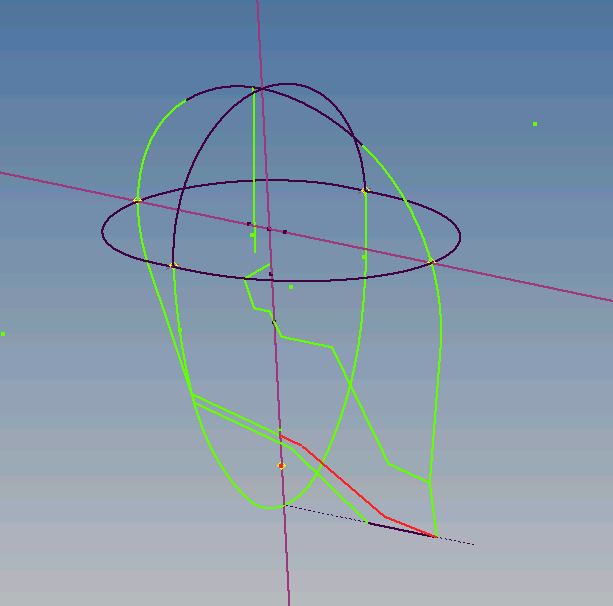
Then scaled in AutoCAD and imported to my favorite cad package and went to work over the weekend to produce this:
When I was happy with the cad version, I exported a STL file, unfolded in pepakura and assembled:
Then I did the fiberglass thing.
(note: people write this step here as if it's no big deal... well, let me tell you something: IT IS)
I made a couple of mistakes in the pep phase resulting in an uneven geometry at some places, so I decided to cover the outside and then work with that instead of the inside like most people seem to prefer doing. Also, at the time the fit was a wee bit snug, so I didn't mind the extra thickness for when I cast it.
I've already done my first 2 layers of bondo/sanding but haven't taken any pictures yet.
Stay tuned!
I got the pictures of the first coat of bondo in:
Firsts layer of bondo after fibreglass... not looking good.
In the end, I found a way of coating an existing clear lexan disk of the exact diameter I needed
I did some work on the electronics. Mainly I figured out a casing for the red light and tried and failed at casting a red lens for it:
Then I gave the rest of the mask a couple more coats of bondo and sanded.
At this point I realized I had omitted the neck cover. Figured I'd add it now and make it removable, and if it can't stay on, then I'll just get rid of it... but I want to at least have something there.
More sanding, more bondoing, more sanding. glassed and bondoed the neck piece and built up the difference. Also, had a stab at refining the edges and doing a bit of detail work using the dremel (best $60 I ever spent), though it will take a lot more patience and a steady hand. In the end it's proven to be a more artisan piece than I had expected, and less... engineerey. I may rapid prototype it one day... but until then, I'll keep on sanding and shaping.
Got to re-shaping the front of the face to remove the 'jowls' I inadvertently created when fixing the scaling issue miss-match.... long story... the face now has something closer to the correct shape. Then opened up the eyes again and did some more smoothing.
I started to split the helmet, and its turned out to be a more violent/messy enterprise than I had expected. I'll have a lot of additional patching/sanding to do after the fact.
I used the dremel with a tiny circular blade.
Here are some shots of the damage... er.... progress.
All the little white specs are dings about .5 mm deep. It shouldn't take long to patch up,
I added some nylon finishing washers, sculpted the housing for the light and lens out of a sheet of styrene (I think it was styrene at least). Glued said housing to the newly detached forehead piece, filled the area around the washers, and took it to the paint shop once more:
I re-assembled the helmet for a fit check, only to find out there was misalignment caused by the other clay I used. So I went and got the correct clay, thanks to pandamajik, and started on the first mold of the forehead piece, using tin cure silicone from tap plastics:
At the same time, I started on the rest of the helmet, building risers out of clay and all that magic.
I didn't like how the tin cure silicone took 24 hours to cure between coats (basically my whole weekend for 4 coats), so I also bought some smoothcast rebound and I instantly dug the stuff. I couldn't get thivex or the thinner, so I had to improvise. Turns out that if you spread the stuff really thin (like actually pressing down) all the bubbles go away instantly, and then when it drips, it goes away completely... Also, instead of using thivex to thicken it, all I had to do is wait about 20 minutes until it started to partially cure in the cup before starting to spread it.
Then at some point I made a mother mold for the forehead out of plaster of paris. It was a 2 part mold, which I had a lot of trouble de-molding without the plaster breaking in half every time. Also, there were very few alignment points between the parts, so I had to hold it in place the whole time while casting it.
In the end, the first pull came out better than I expected... Also, this is my first time casting anything, or making molds, for that matter, so it's been a fun learning experience.
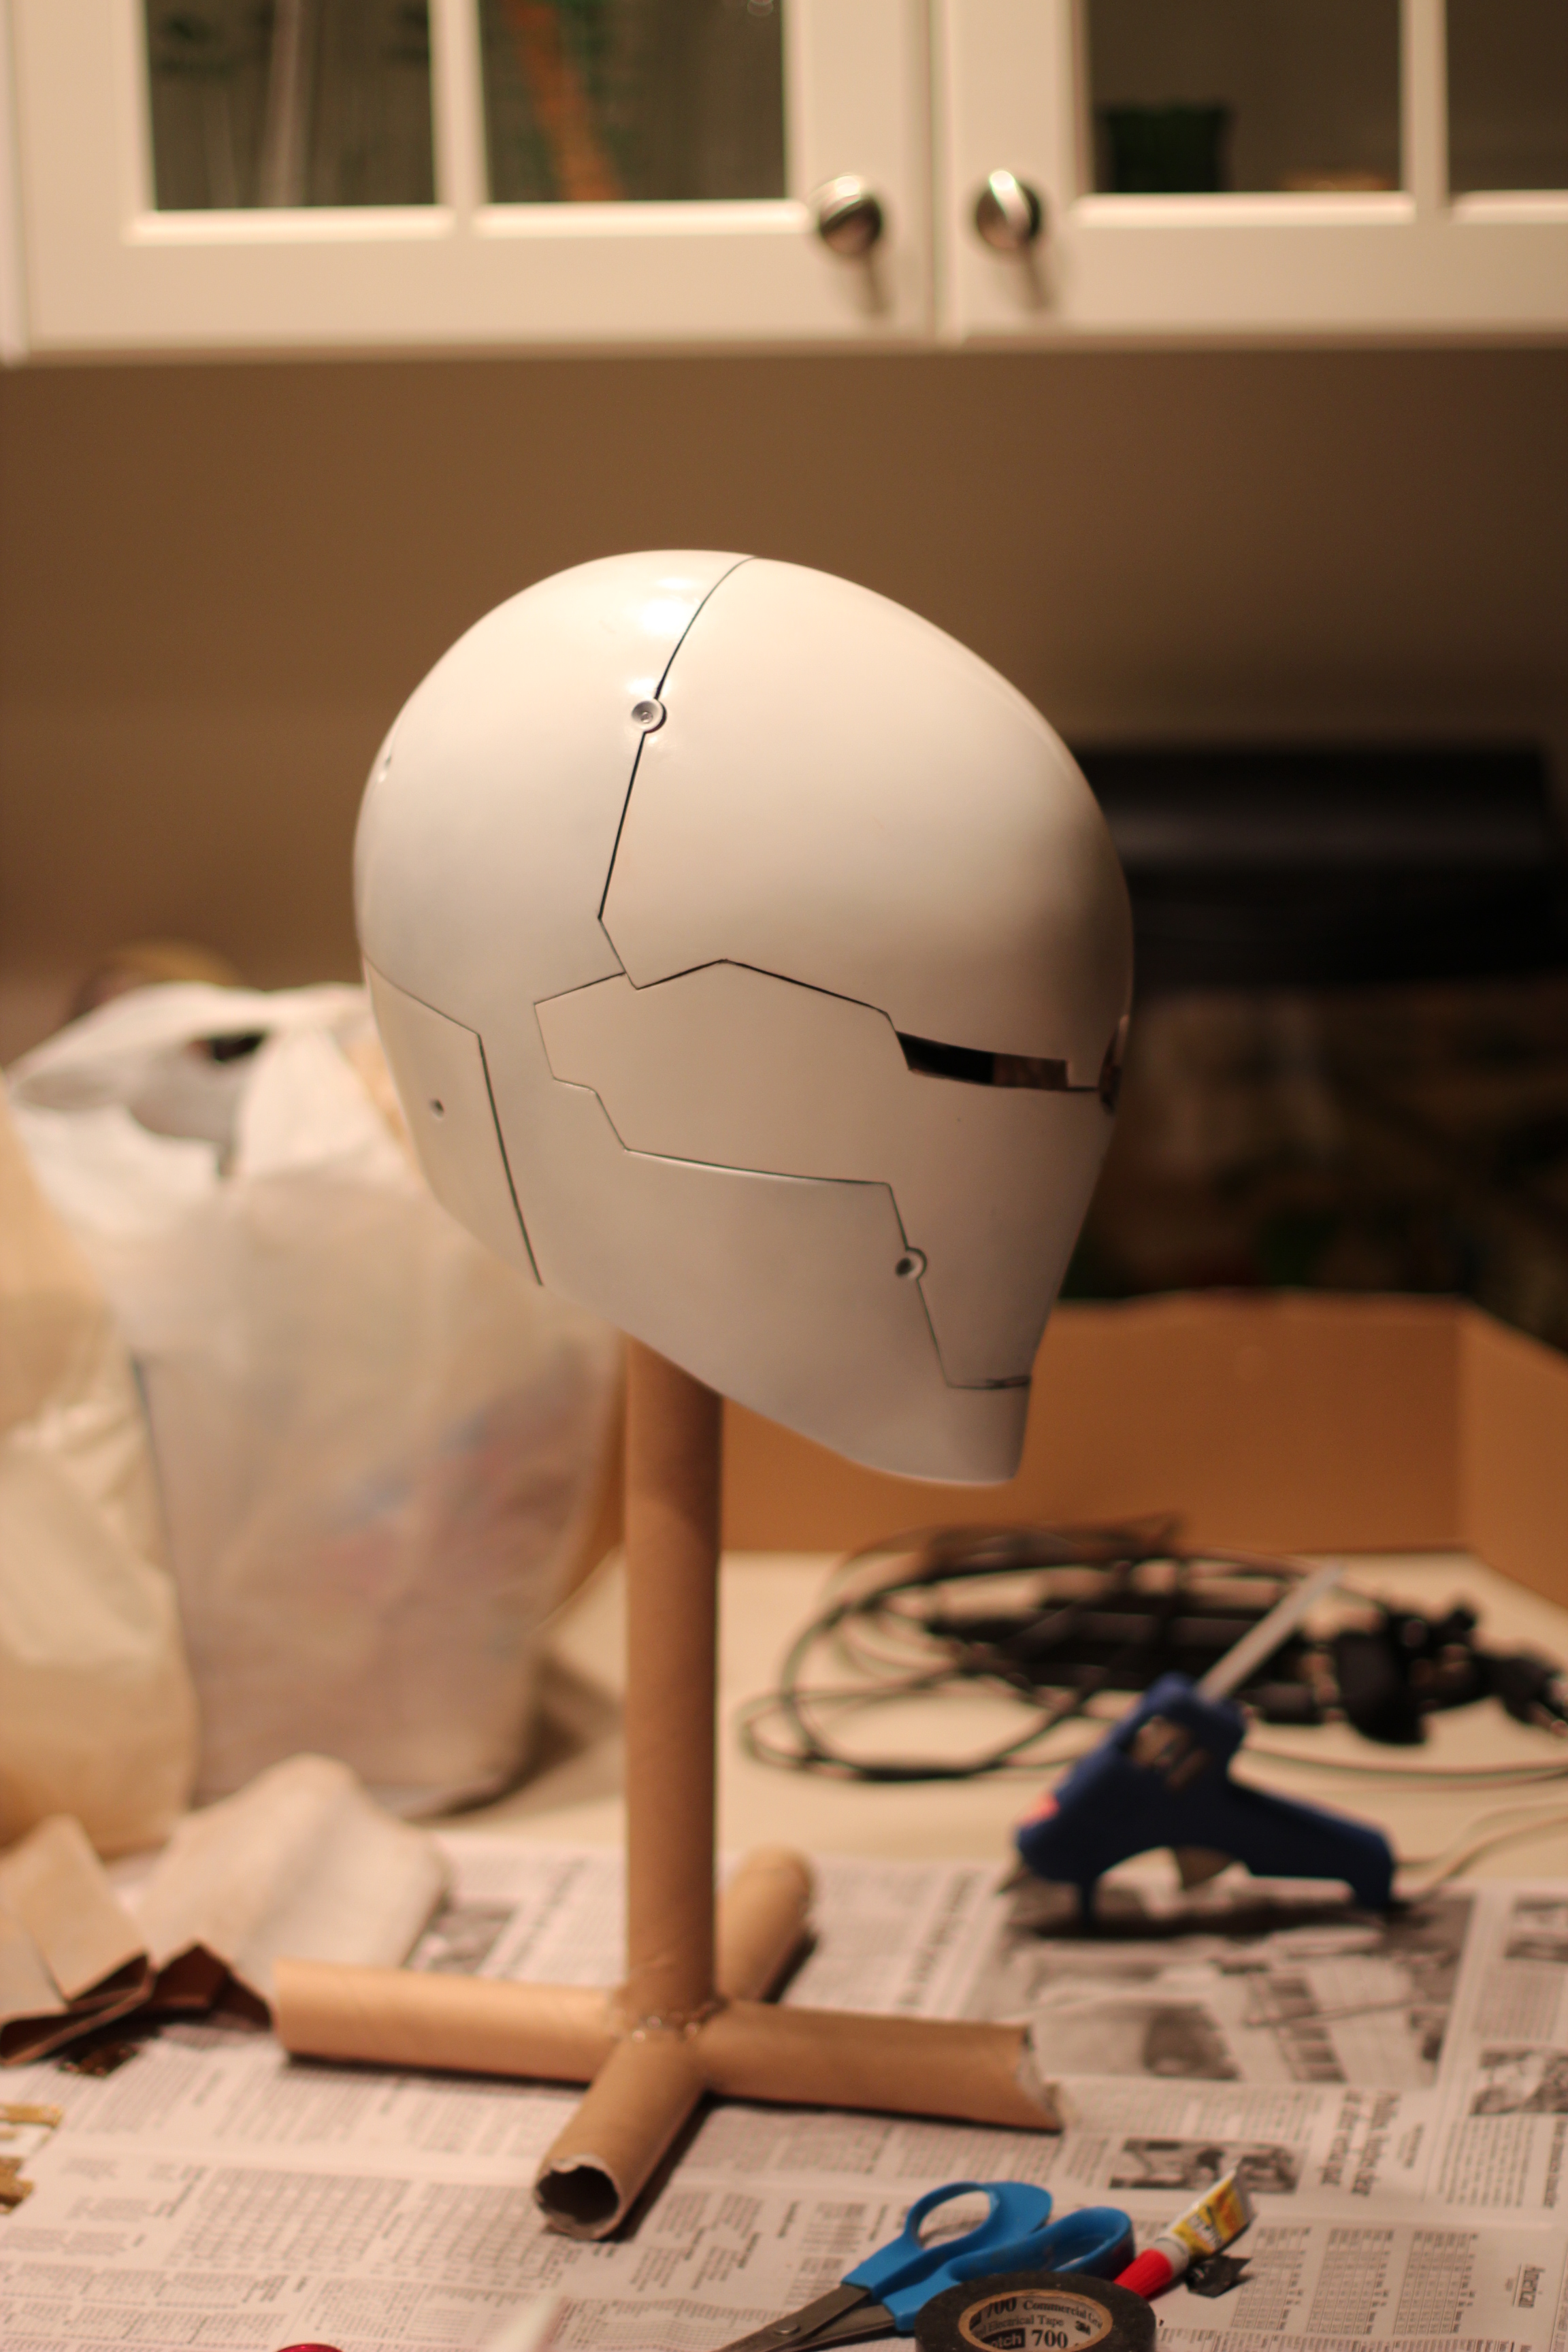
Here's the first (second - the first one was a mess) pull
got casting materials and time, And best of all...
it fits!
The servo is attached to the cheek piece, Then the servo arm is attached to the hinge, with the servo pivot in line with the hinge pivot, Then the secondary hinge is attached slightly behind it. Also notice that it is slightly shorter than the driver hinge. This is to make the plate rotate a little at the same time it is translating. Finally, here is a view of the forehead attachment and the magnets I used to keep it in place.
After I finished mocking everything up, I disassembled it for final painting and re-assembled it again afterwards.
In the end I was able to finish the costume just in time to make it to the convention. See the gallery for pictures of the finished costume.
Thanks for reading!


